How to Create New Documents or Contract Template
📄 How to Create New Documents or Contract Templates
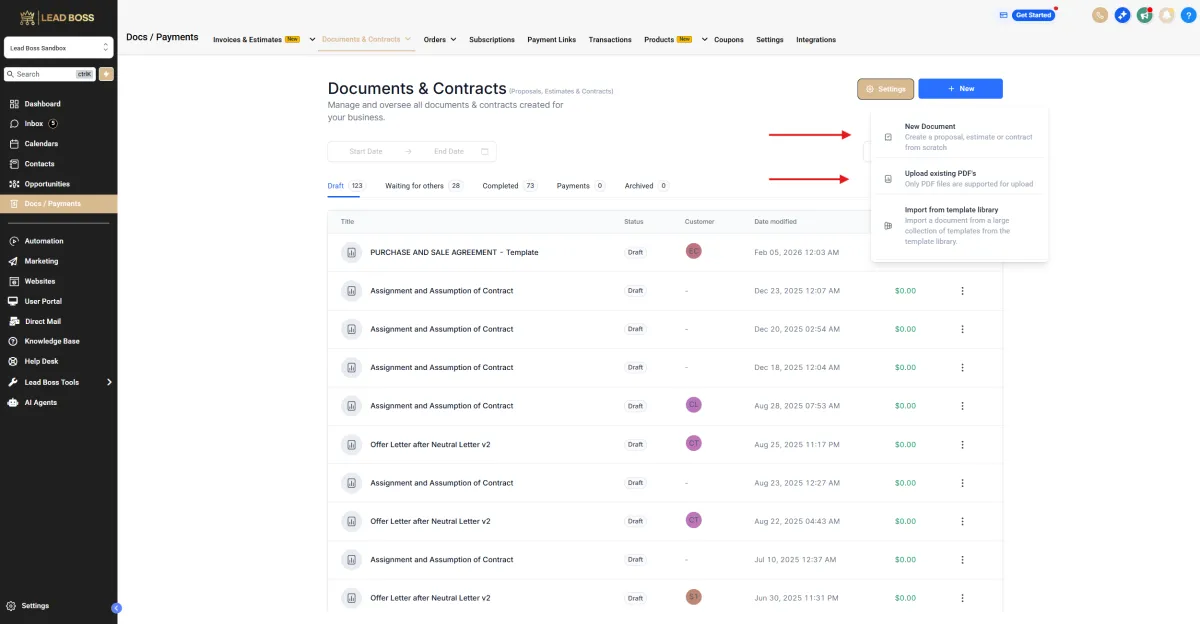
1️⃣ Login to LeadBossCRM if you haven’t already.
2️⃣ Navigate to:Docs/Payments → Documents & Contracts → Templates → New
3️⃣ You may also upload existing documents.
4️⃣ Note: Only PDF files are supported for upload.

🛠️ Building the Document
1️⃣ Click the + icon.
2️⃣ Select Text, then drag and drop it onto the blank document.
3️⃣ Add headings, paragraphs, bulleted lists, and other elements.
4️⃣ Use the Properties panel and text editing tools to style and format your content.

🎨 Text Formatting Options
🔹 Font Style
Choose from a variety of fonts such as serif, sans-serif, or decorative to set the tone of your text.
🔹 Font Size
Adjust the font size using pixels or other units. Smaller sizes are ideal for captions or footnotes, while larger sizes work well for headings.
🔹 Line Height
Control the spacing between lines of text. Increasing line height improves readability, while decreasing it helps conserve space.
🔹 Background Color
Set the color behind the text. Using high-contrast text and background colors enhances readability.
🔹 Clear Formatting (Format Selected)
Remove any applied styling from selected text to restore a clean, consistent appearance.
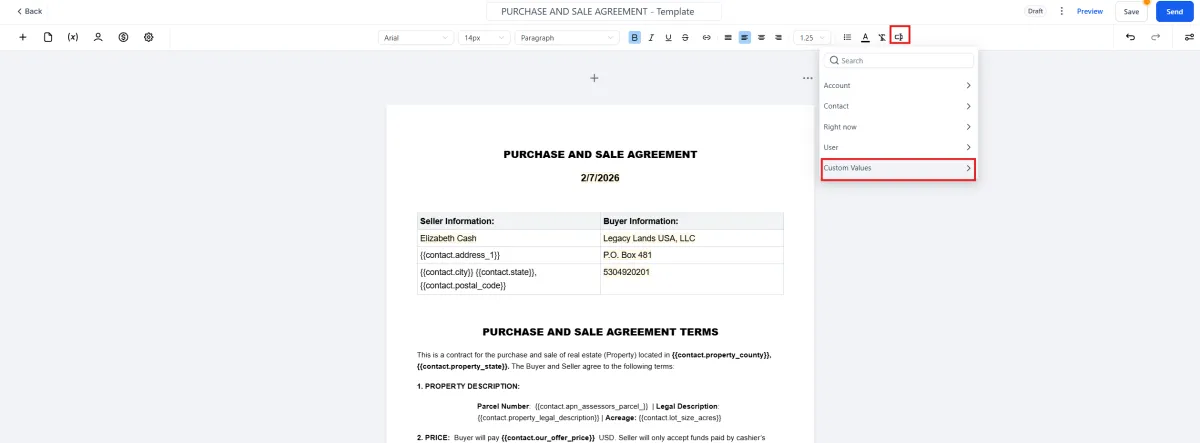
🧩 Using Custom Values
🔸 Custom Values allow you to personalize proposals and estimates with client-specific details such as names, project requirements, or locations.
🔸 Personalization increases relevance, improves engagement, and can help boost acceptance rates.
⚙️ How Custom Values Work
1️⃣ Custom values pull information directly from the client’s contact record.
2️⃣ This ensures accuracy and consistency across all templates.
3️⃣ Any template that includes custom values will automatically populate them when used.
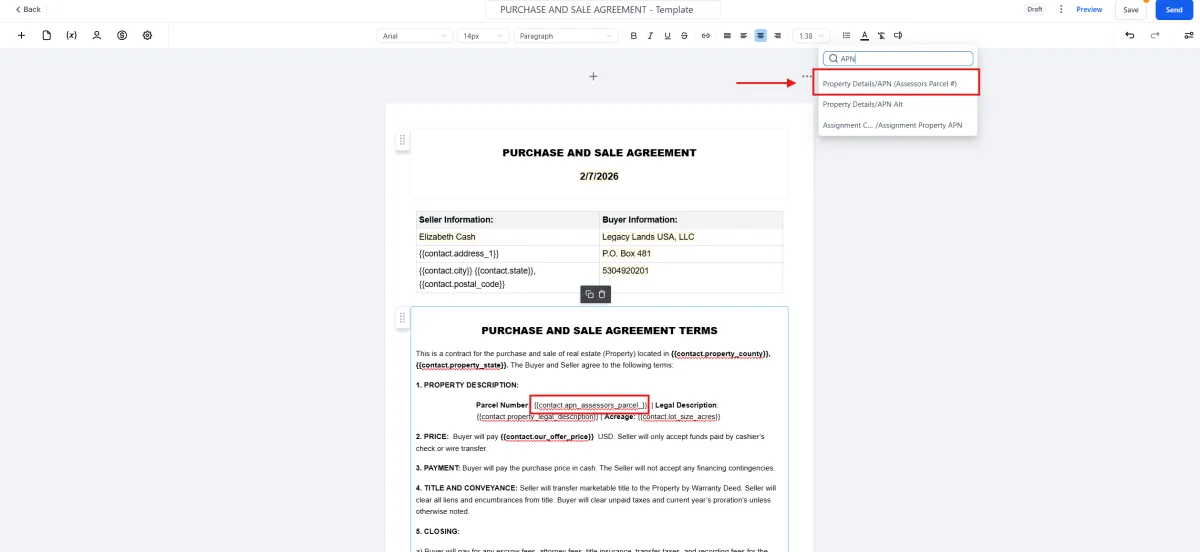
🧪 Example: Adding an APN Custom Value
1️⃣ Open the Custom Values tab.
2️⃣ Select Custom Values.
3️⃣ Enter APN as the custom value.
4️⃣ Save your changes.
5️⃣ Once added, the APN will automatically populate wherever the template is used, as long as the client contact contains that information.
➕ Adding Additional Custom Values
🔹 You can create multiple custom values based on the information you want to auto-populate.
🔹 These values will be available for reuse in any template.
🔹 Each time the template is used, the system will automatically fill in the corresponding client data.
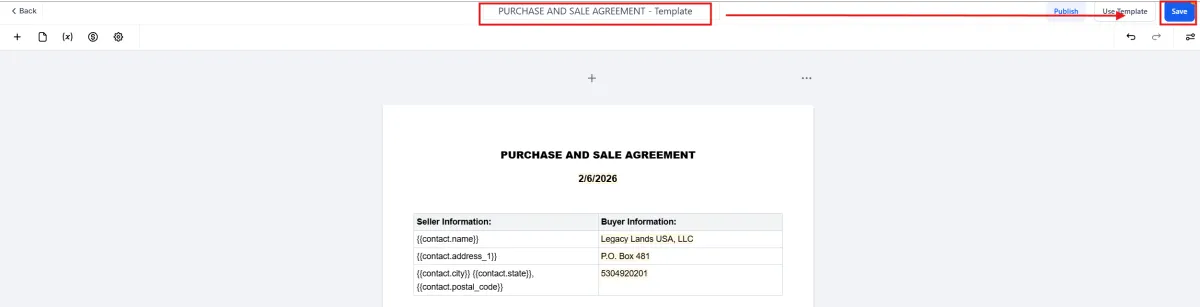
💾 Saving the Document
1️⃣ Once you have completed filling out the document or contract, enter your preferred document name in the top bar.
2️⃣ Click Save to store the document.
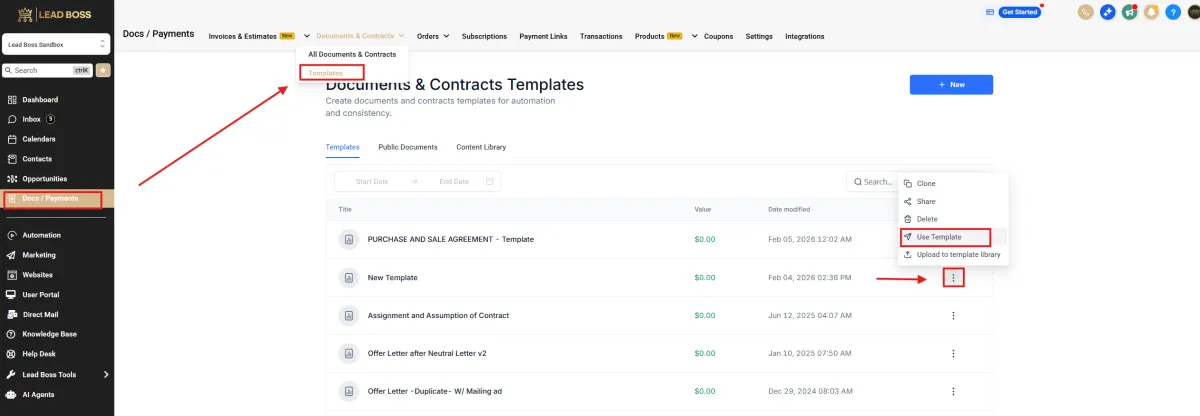
📂 How to Use the Template
1️⃣ Navigate to:
Docs/Payments → Documents & Contracts
2️⃣ Click the three dots next to the template.
3️⃣ Select Use Template.
👤 Adding a Recipient in the Document
1️⃣ Click the Human icon.
2️⃣ Select the client from the Primary Client dropdown.
3️⃣ The document will automatically populate fields linked to custom values if the information exists in the client’s contact record.
4️⃣ Enable Signing Order if needed and drag and drop recipients to arrange the signing sequence.

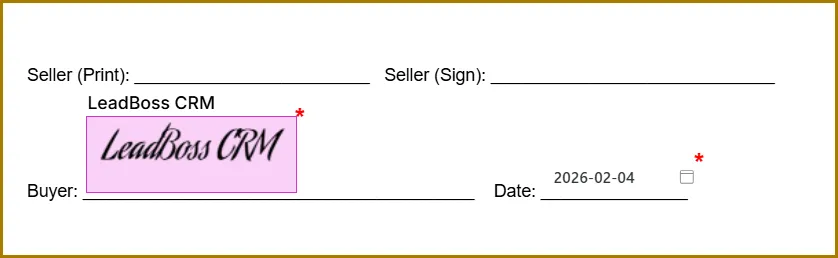
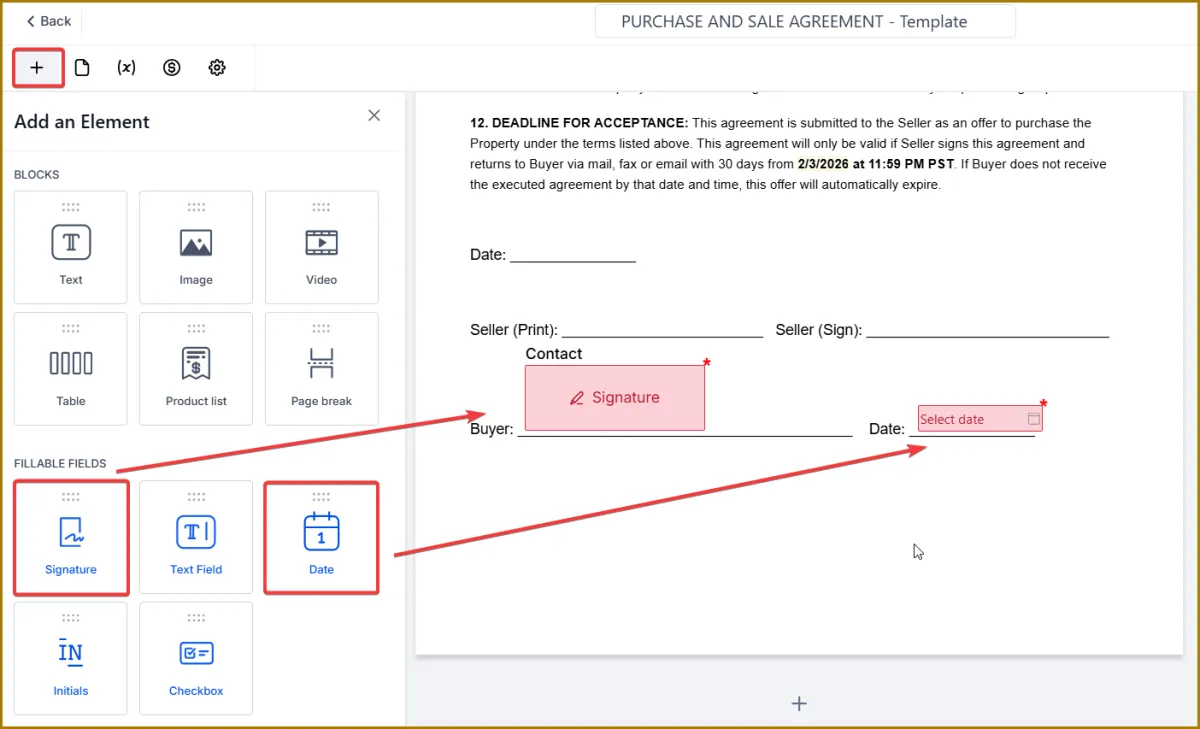
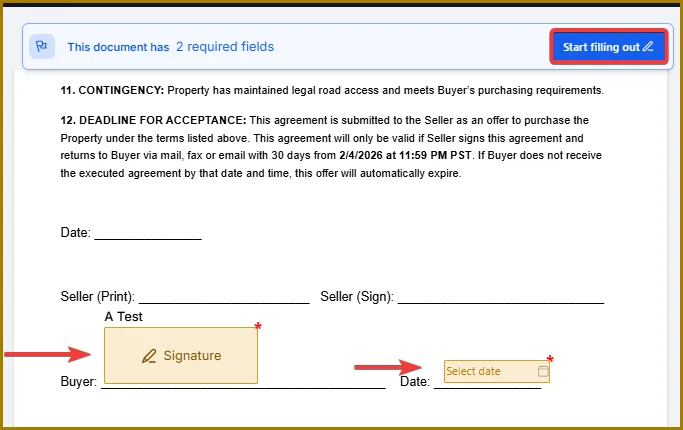
✍️ How to Add a Signature
1️⃣ Click the + icon.
2️⃣ Select Signature and drag and drop it into the document.
3️⃣ Add Date or Initials fields if needed.
4️⃣ Note: Use Preview to verify placement before sending.
📤 Sending the Document
🔹 Send Document – Sends the document directly to the client’s email.
🔹 Send via Link – Generates a shareable link allowing access even without email access.

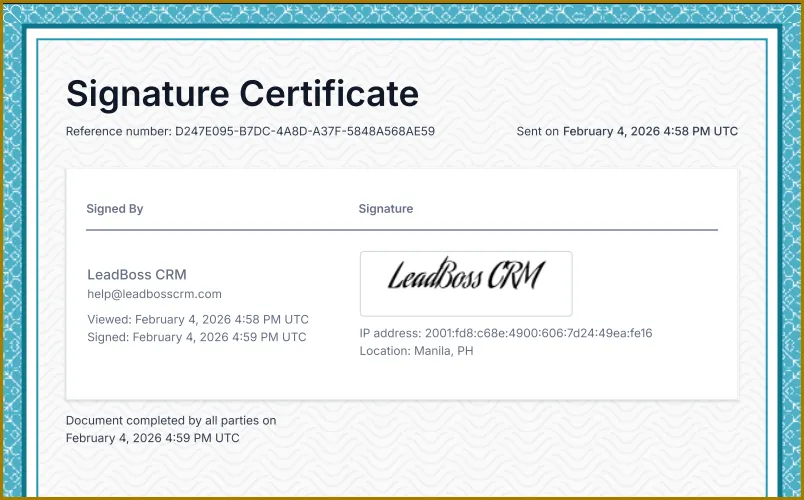
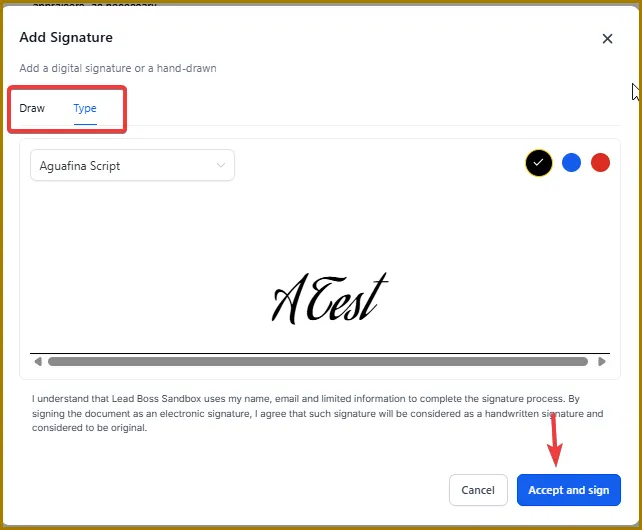
📝 Signing the Document
🔹 Sign electronically using a mouse, touchscreen, or other input device.
🔹 Apply a standardized electronic signature generated from the typed name.
Optional Signature Customization
🔸 Change the color of the signature.
🔸 Select a different signature style or script.
📎 Accessing a Copy
🔹 The recipient will have the option to download or access a copy of the signed document for their records.