
How to Filter Contacts
📌 Step 1: Navigate to the Contacts Section
1️⃣ Login to LeadBossCRM.
2️⃣ From the left sidebar menu, click Contacts.
3️⃣ You will be taken to the Contacts dashboard, where all contacts are listed.
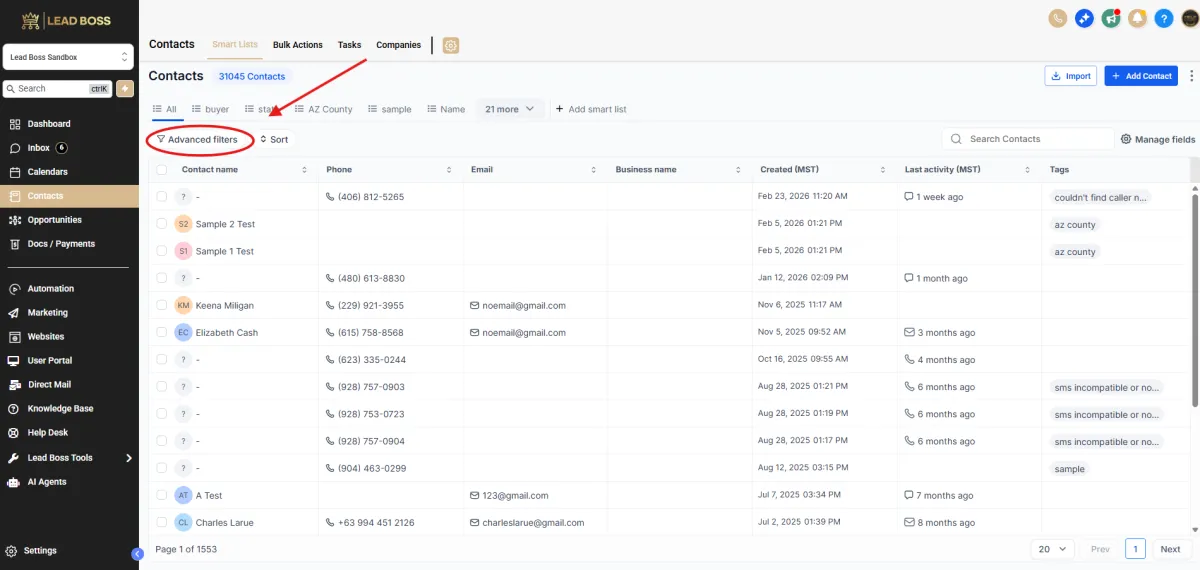
🔎 Step 2: Open the Advanced Filters Panel
1️⃣ At the top of the contacts list, click Advanced Filters.
2️⃣ The Advanced Filters panel will appear on the right side of the screen.
This panel allows you to filter contacts based on specific data fields such as:
Tags
Contact Information
Opportunity Information
Property Details
Custom Fields
🔍 Step 3: Search for a Filter Field
1️⃣ Inside the Advanced Filters panel, click the search bar at the top.
2️⃣ Type the name of the field you want to filter by.
Example:
Tag
Phone
Pipeline Stage
Custom fields
3️⃣ Click the filter option that appears in the results.
Example: Tag
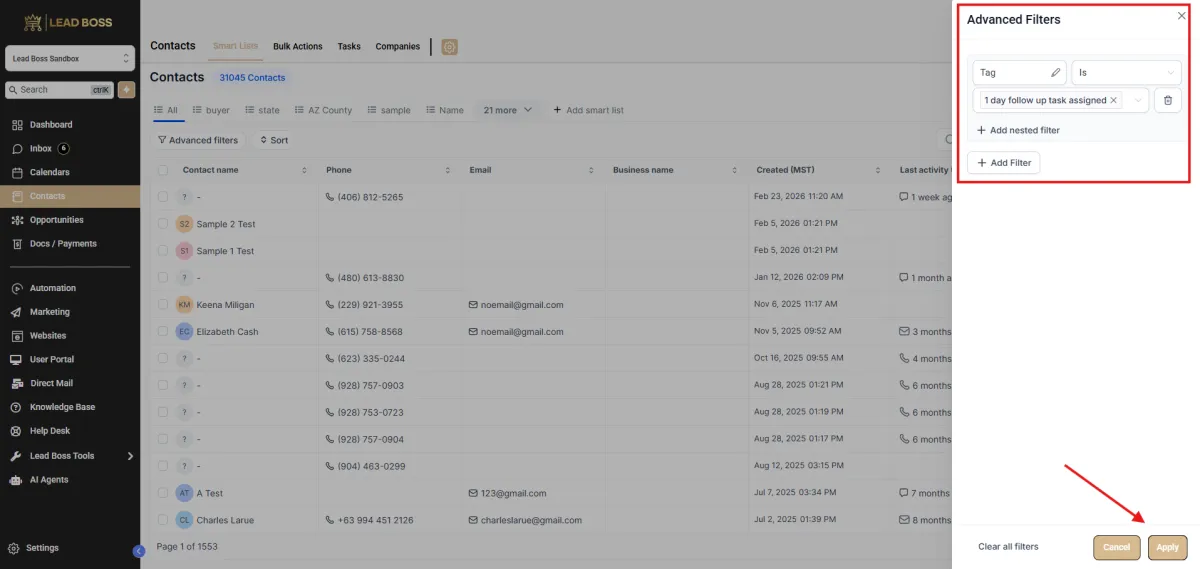
⚙️ Step 4: Configure the Filter Condition
Once the filter is added, configure the filter settings.
1️⃣ Select the filter condition from the dropdown.
Example conditions:
Is
Is Not
Contains
Does Not Contain
2️⃣ Select or enter the value you want to filter by.
Example:
Tag Is → 1 day follow up task assigned
3️⃣ If needed, click Add Filter to apply additional filters.
You can also use Add Nested Filter to create more advanced filter conditions.
✅ Step 5: Apply the Filter
1️⃣ After configuring your filters, click Apply at the bottom of the panel.
2️⃣ The contacts list will automatically update to show only contacts that match the selected filter conditions.
🧹 Removing or Resetting Filters
To remove filters:
Click Clear all filters at the bottom of the filter panel.
This will reset the contact list and display all contacts again.
📊 Expected Result
Once the filter is applied, only contacts that match the selected conditions will be displayed in the contacts list.
This helps you quickly locate specific groups of contacts for tasks, campaigns, or follow-ups.