
How to Manage Fields in the Contacts Table
Managing fields allows you to customize which columns appear in the Contacts table. These fields will also appear when exporting contacts, helping you organize and view the data most relevant to your workflow.
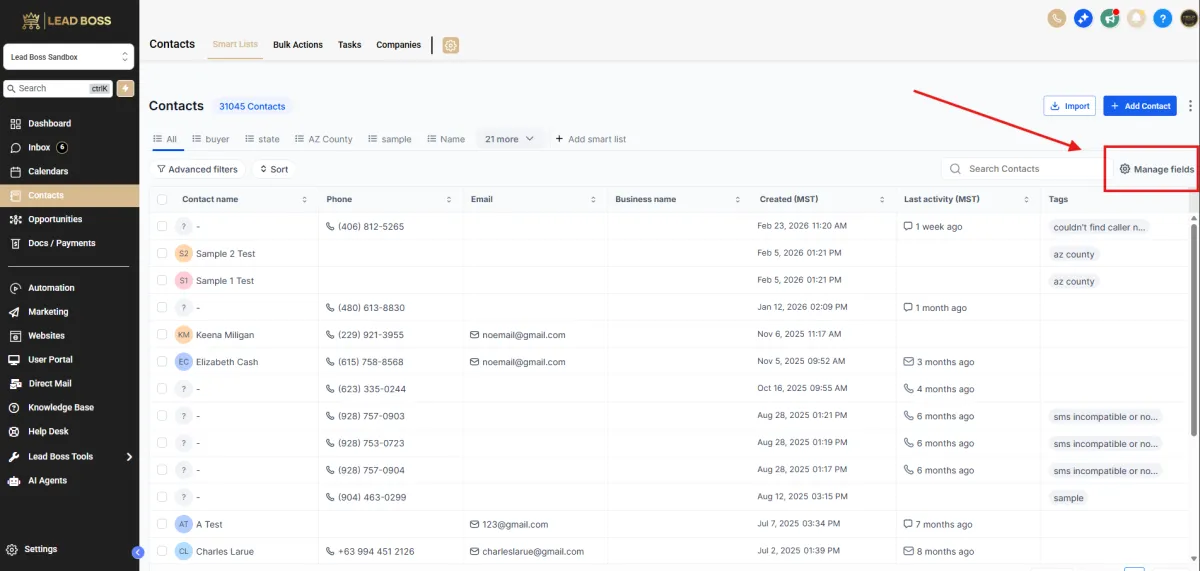
📌 Step 1: Navigate to the Contacts Section
1️⃣ Login to LeadBossCRM.
2️⃣ From the left sidebar menu, click Contacts.
3️⃣ You will be taken to the Contacts dashboard, where all contacts are displayed.
⚙️ Step 2: Open the Manage Fields Panel
1️⃣ In the top-right area of the contacts table, click Manage Fields.
2️⃣ The Manage Fields panel will appear on the right side of the screen.
This panel allows you to:
Show or hide fields in the contacts table
Add additional fields
Reorder the fields displayed in the table
📋 Step 3: Show or Hide Fields
Under Fields in table, you will see a list of currently visible columns.
Examples include:
Contact Name
Phone
Business Name
Created Date
Last Activity
Tags
To manage visibility:
🔹 Check the box next to a field to display it in the contacts table.
🔹 Uncheck the box to remove the field from the table view.
⚠️ Important:
Fields that are enabled here will appear as columns in the Contacts table and in exported contact files.
➕ Step 4: Add Additional Fields
If you want to display more fields:
1️⃣ Scroll down to the Add Fields section.
2️⃣ Locate the field you want to add.
Examples may include:
First Name
Last Name
Source
Contact Type
Date of Birth
Custom fields
3️⃣ Check the box next to the field to add it to the table.
Once selected, the field will appear in the Fields in table section.
🧩 Step 5: Add Custom Fields (Optional)
If the field you need is not listed:
1️⃣ Click Add Custom Field at the bottom of the panel.
2️⃣ Create the custom field according to your requirements.
Custom fields allow you to store additional information specific to your business or workflow.
🔀 Step 6: Reorder Fields in the Table
You can change the order of columns displayed in the contacts table.
1️⃣ Locate the drag handle (four-dot icon) on the left side of each field.
2️⃣ Click and drag the field up or down to rearrange its position.
This determines the order of columns in the Contacts table.

✅ Step 7: Apply the Changes
1️⃣ After selecting or rearranging fields, click Apply.
2️⃣ The Contacts table will update to reflect the changes.
📊 Expected Result
The Contacts table will now display the selected fields as columns, organized in the order you set.
These fields will also be included when exporting contacts, ensuring your exported data contains the necessary information.