How to Map Variables for Direct Mail Designs
📌 Step 1: Open the Designs Tab
1️⃣ Navigate to the Direct Mail section.
2️⃣ Click the Designs tab.
3️⃣ Your saved designs will appear in the list.
⚙️ Step 2: Open Variable Mapping
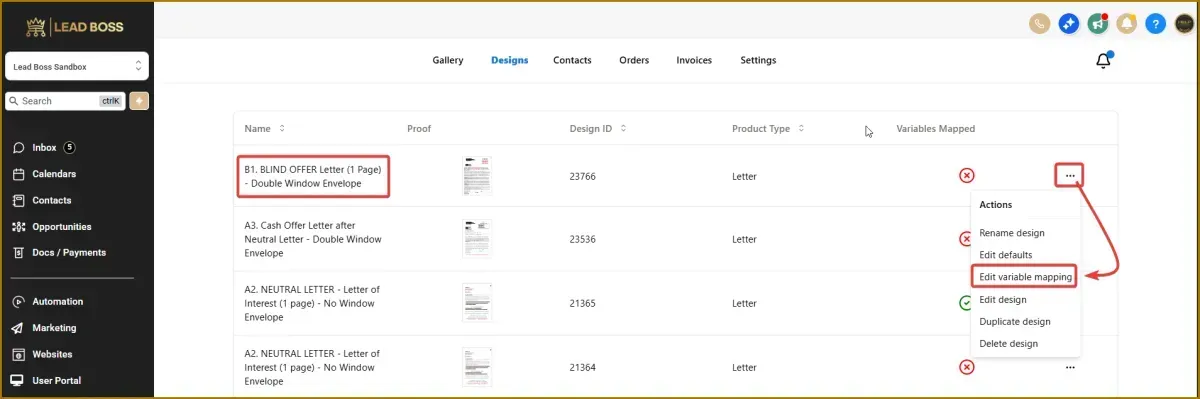
1️⃣ Locate the design you want to use.
2️⃣ Click the three-dot menu beside the design.
3️⃣ Select Edit Variable Mapping.
This will open the Variable Mapping panel.
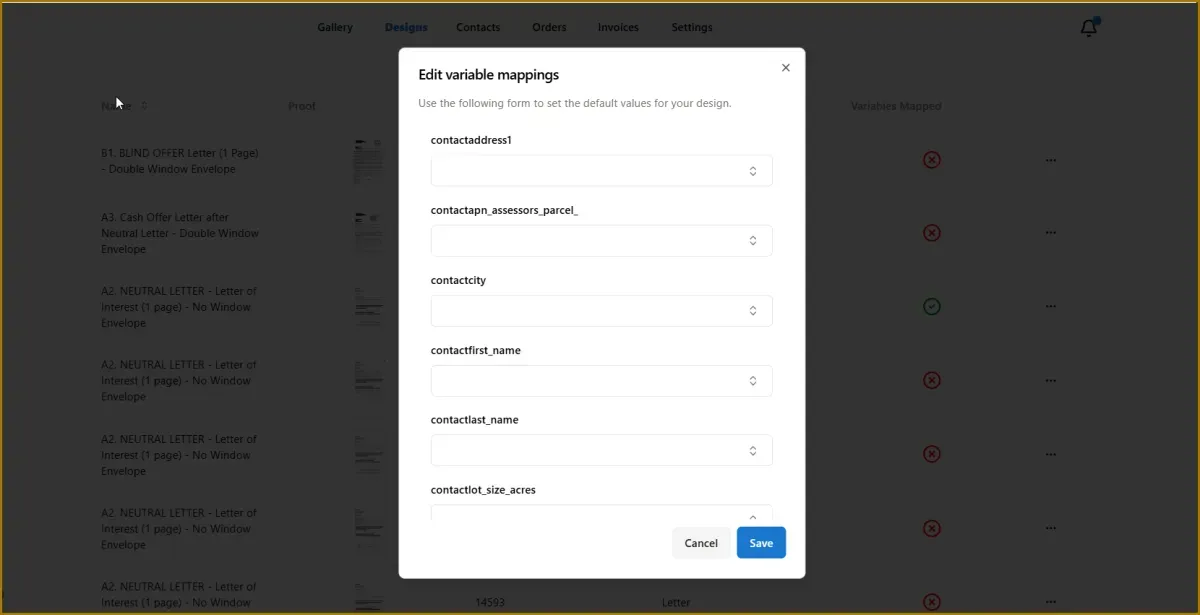
🔎 Step 3: Select a Variable to Map
1️⃣ Open the dropdown menu for the field you want to map.
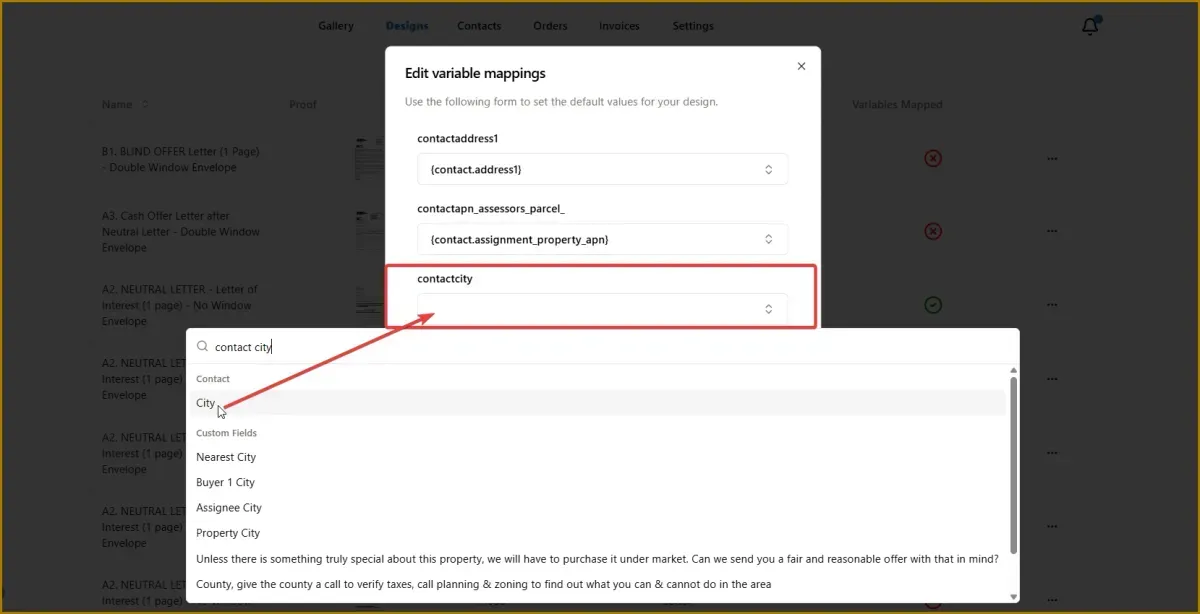
2️⃣ In the search bar, type the variable you want to assign.
Example:
If mapping Contact City, type:
contact city
3️⃣ Select the matching variable from the list.
You will know it is correct when the variable name matches the field title exactly.
🧩 Step 4: Map All Required Fields
Repeat the process for the remaining fields.
Common fields include:
Contact First Name
Contact Last Name
Contact Address
Contact City
Contact State
Contact Zip Code
These fields allow the system to automatically populate each letter with the recipient's information.
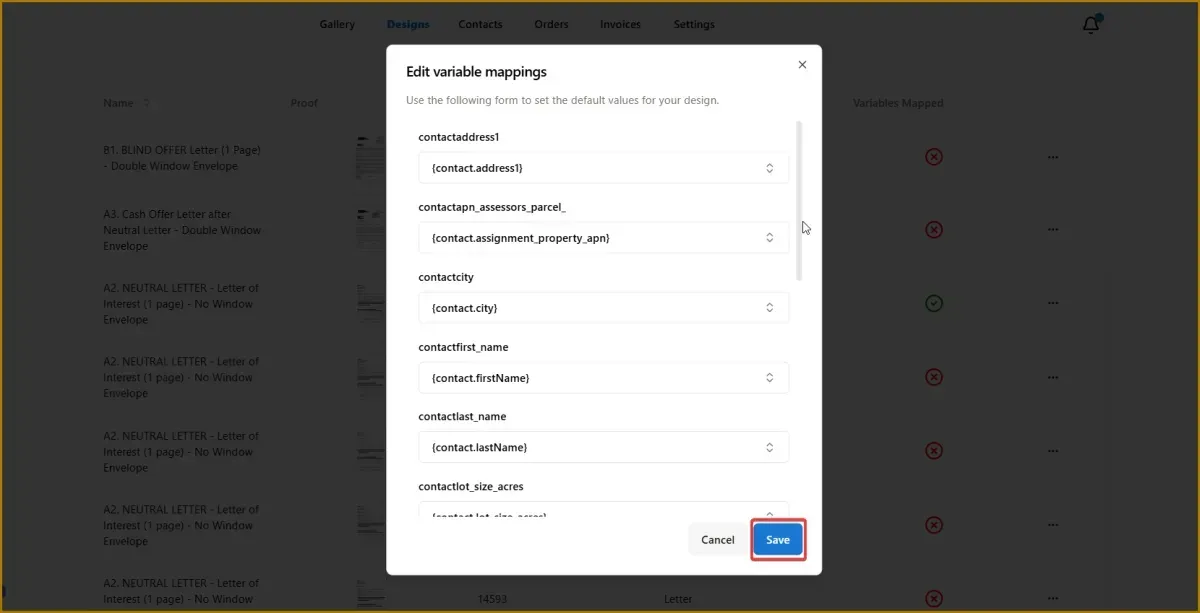
💾 Step 5: Save the Mapping
1️⃣ Once all fields are mapped, click Save.
2️⃣ The variable mapping will now be applied to the design.
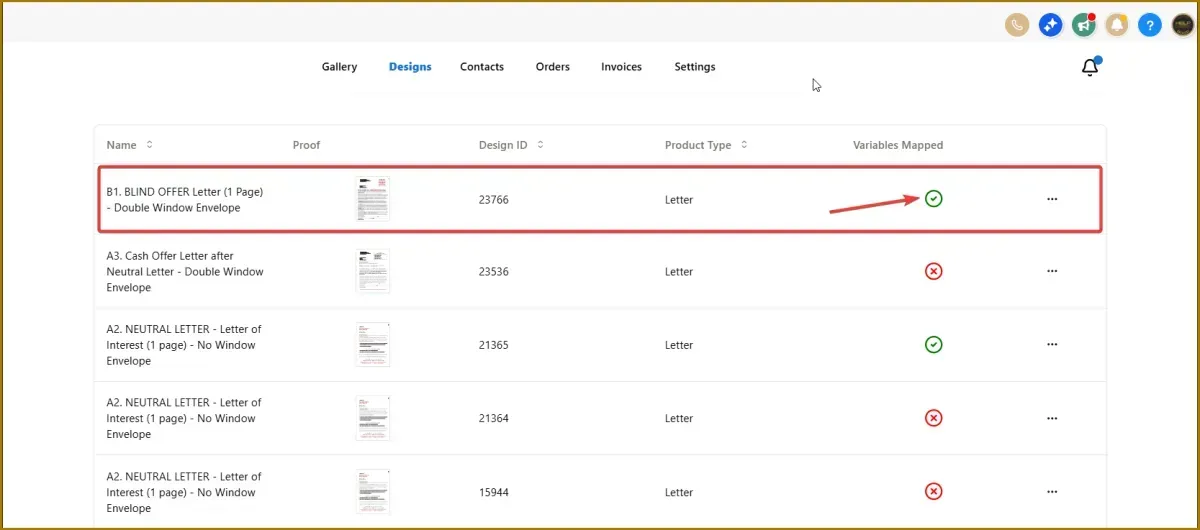
✅ Step 6: Confirm Successful Mapping
After saving, return to the Designs tab.
If the mapping was completed successfully, a checkmark icon will appear next to the design.
This indicates the template is ready to be used for sending direct mail.
📊 Expected Result
Your direct mail template will now automatically populate recipient information when sending letters, allowing you to personalize mail for each contact without manual editing.